
Hello,
Today I will explain step by step how to use Facebook to login and register in your Asp.net core app with hand of MS Asp Identity.
First of all you will need to create an app in Facebook developer platform, this is the URL of Facebook platform:
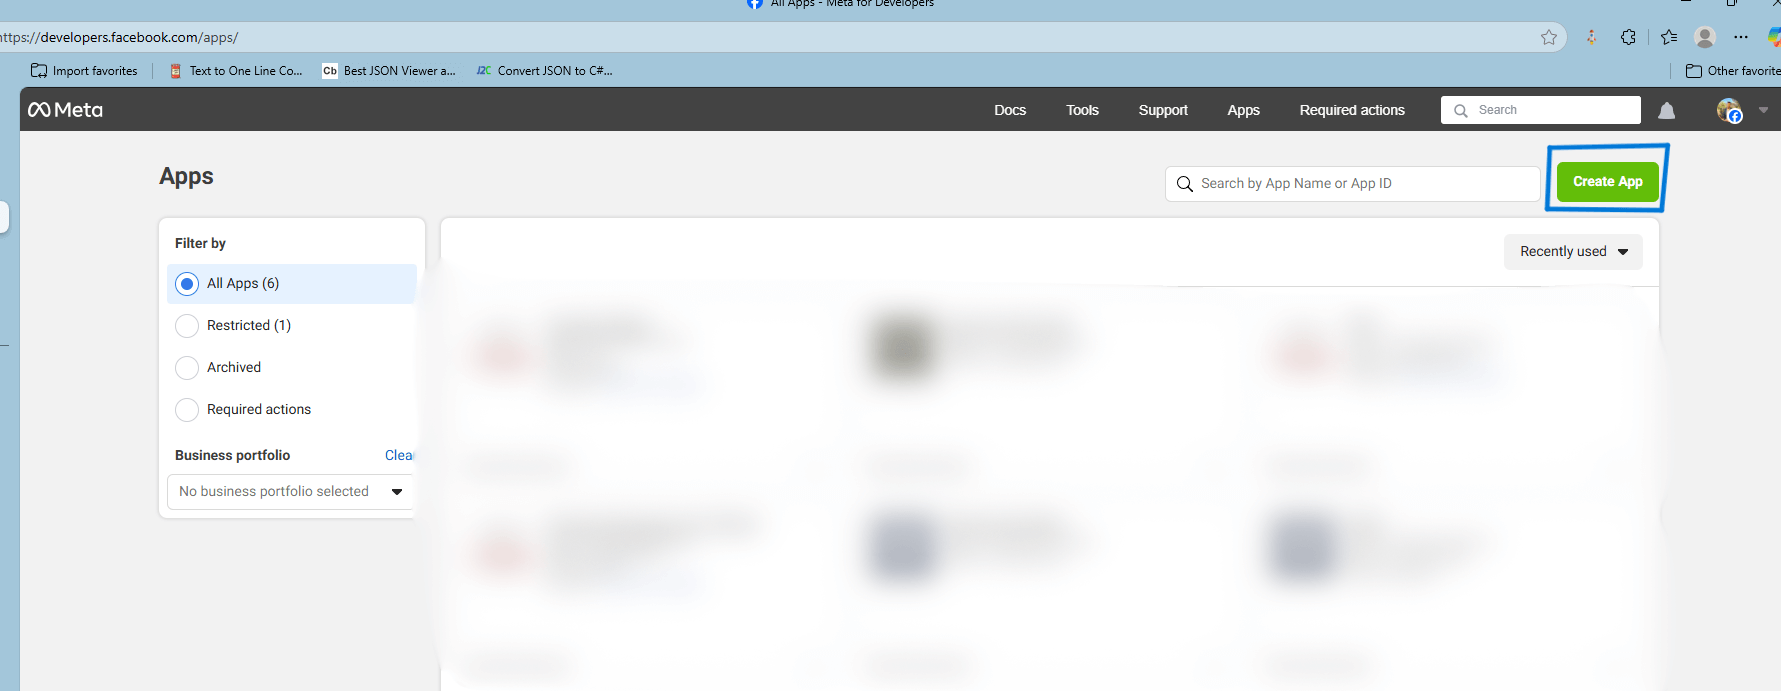
If you follow the link provided you will see all apps you have access to. you need to create a new app by clicking on Create button as in screenshot below.
Creating app on Facebook is very simple, it has five steps:
- App Details: where you enter the App name
- Use cases: for our example in this article, choose Authenticate and request data from users with Facebook Login.
- For Business, choose I don't want to connect a business portfolio yet.
- Requirment step, you don't have to do any action just click on Next button.
When you reach the last step which called overview, just click on Go to Dashboard button.
This is the app I have created for this demo, it's called XYZ.

Now you will need to configure the use case, click on Use case button on the left side bar, you will end up with a screen like this:
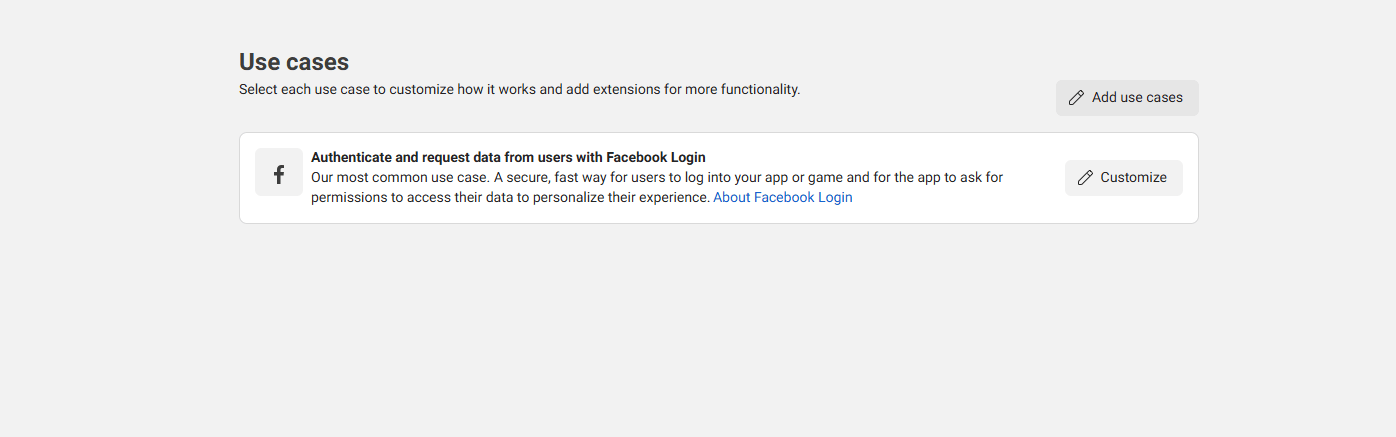
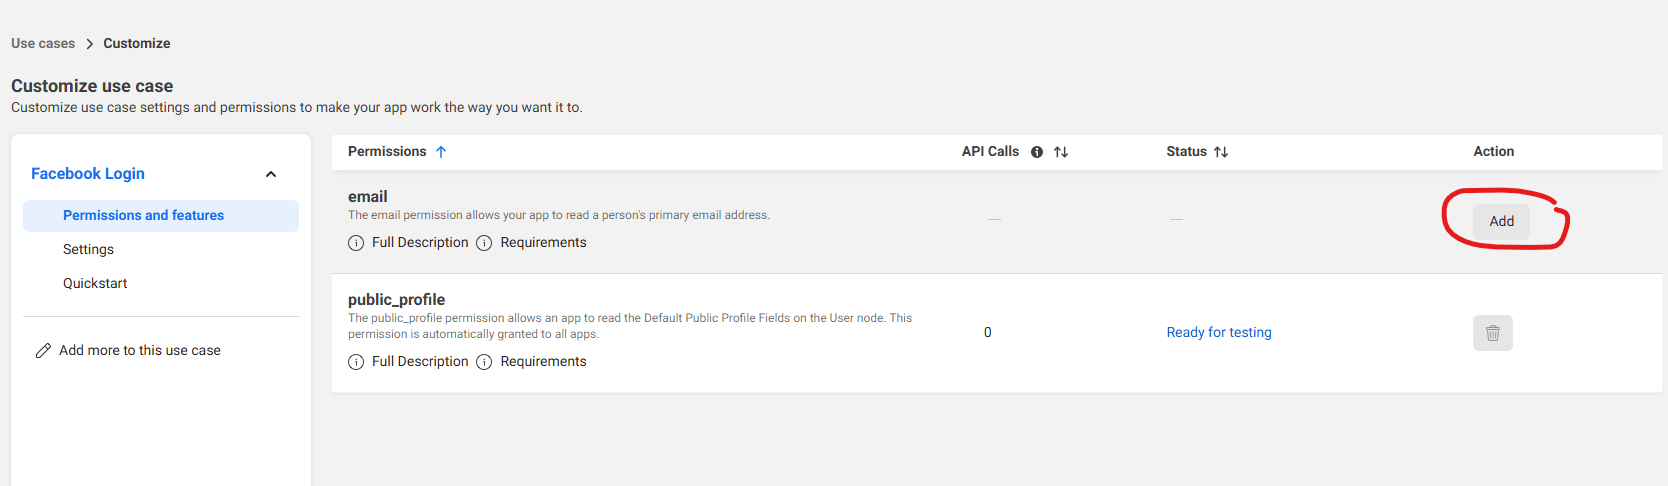
Click on Customize, then click on the Add action button
Then click on the Settings button under Facebook Login, in this page you have to enter OAuth Redirect URIs, enter the dev URL then / then signin-facebook, assume your dev URI is https://localhost:1000 then OAuth URI is https://localhost:1000/signin-facebook
click on Save Changes button, return back to Dashboard then expand App Settings and click on Basic button.
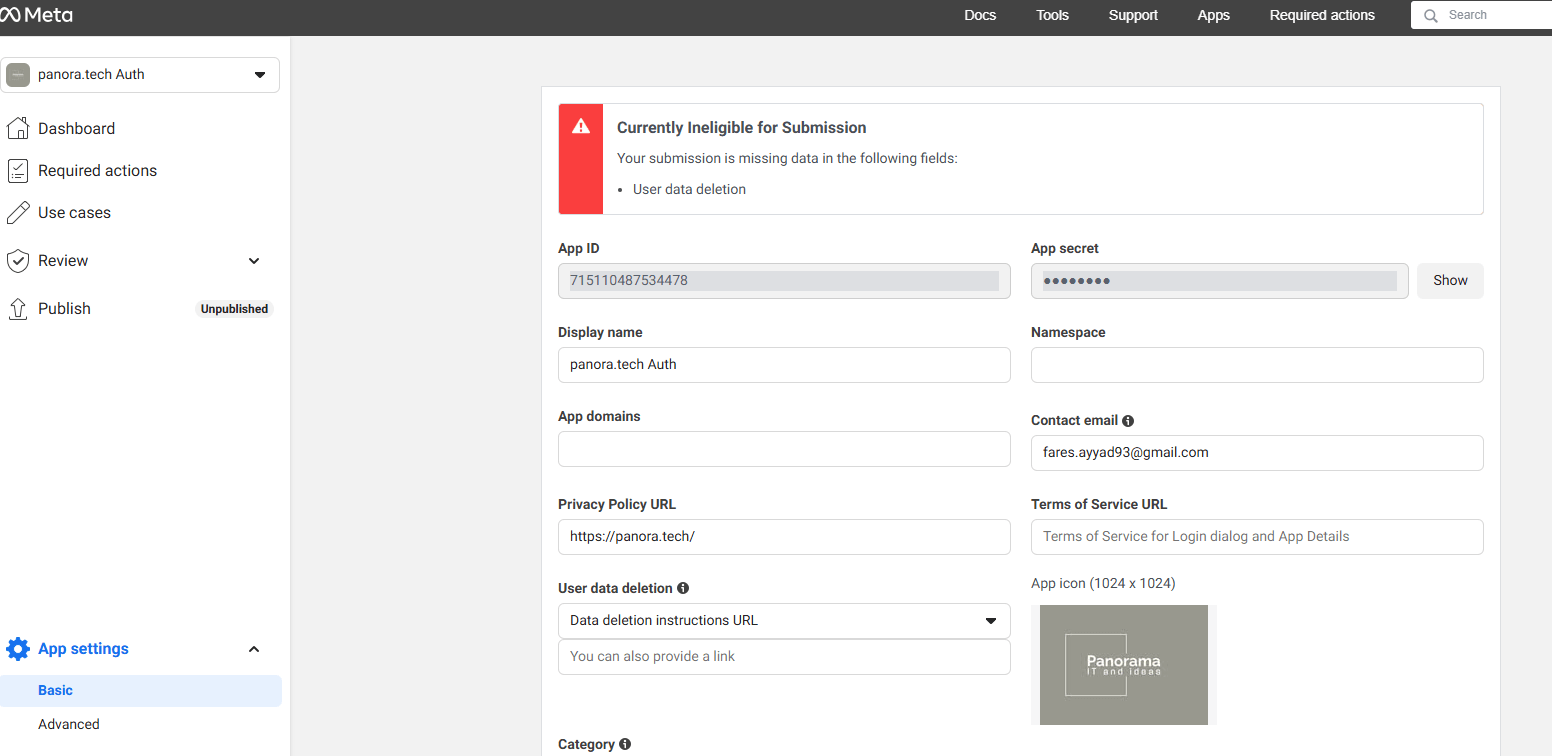
You need to get App ID and App secret, save them in your appsetting.json (or store them with Secret Manager).
Moving to the coding part in visual studio, Configure Facebook Authentication, open Program.cs and add the below code:
var builder = WebApplication.CreateBuilder(args); var services = builder.Services; var configuration = builder.Configuration; services.AddAuthentication().AddFacebook(facebookOptions => { facebookOptions.AppId = configuration["Authentication:Facebook:AppId"]; facebookOptions.AppSecret = configuration["Authentication:Facebook:AppSecret"]; });
You have configured the development environment and it's ready for testing, you will need to do first test, run you app and navigate to the login page:
[YourDomain]/Identity/Account/Login
If you configured the page correctly, you will find a Facebook button, click on the button.
- You are redirected to Facebook for authentication.
- Enter your Facebook credentials.
- You are redirected back to your site where you can set your email.